Step 1: Placing the film in the Hidrogel cutting plotter
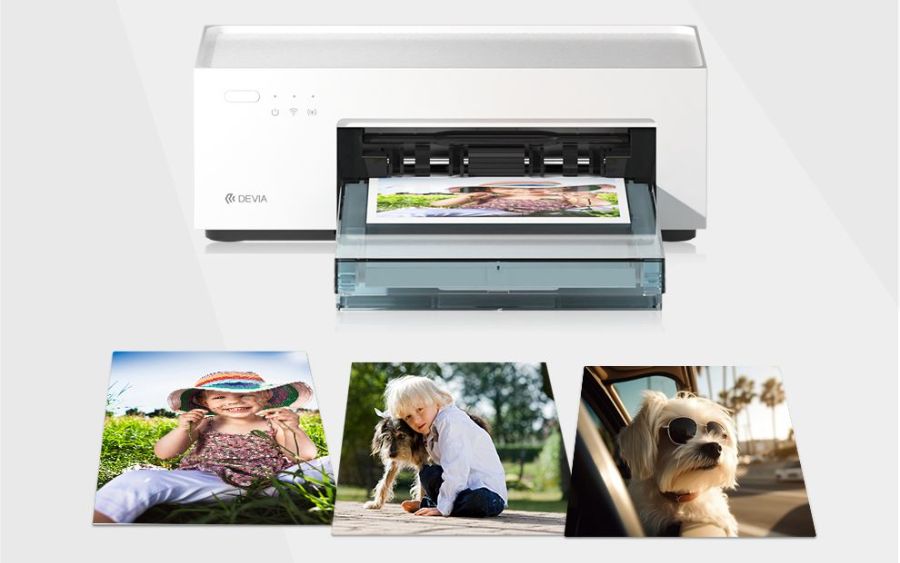
We proceed to remove the selected film from the Blister and then introduce it into the plotter after unlocking the clamping lever.
The position of the sheet, always making square between the right side of the plotter and the line that delimits the margin of the cut.
Finally we lock the lever again carefully so that the recoil of the lever does not hit us.
Step 2: Selecting the cutting pattern
We select the cutting pattern among the different options within the DEVIA application, such as “Phone film”, within each option you will find the different brands of existing terminals and all their respective references, all constantly updated and free, so you can never lose a customer.
Step 3: Cutting the Hydrogel film
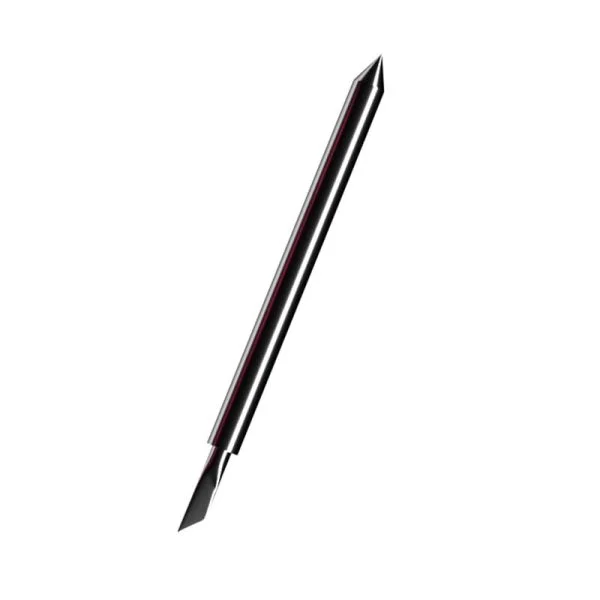
Once we select the desired pattern we press “send” to proceed to send the cutting order to the plotter, then the plotter automatically begins to cut the desired pattern on the sheet.
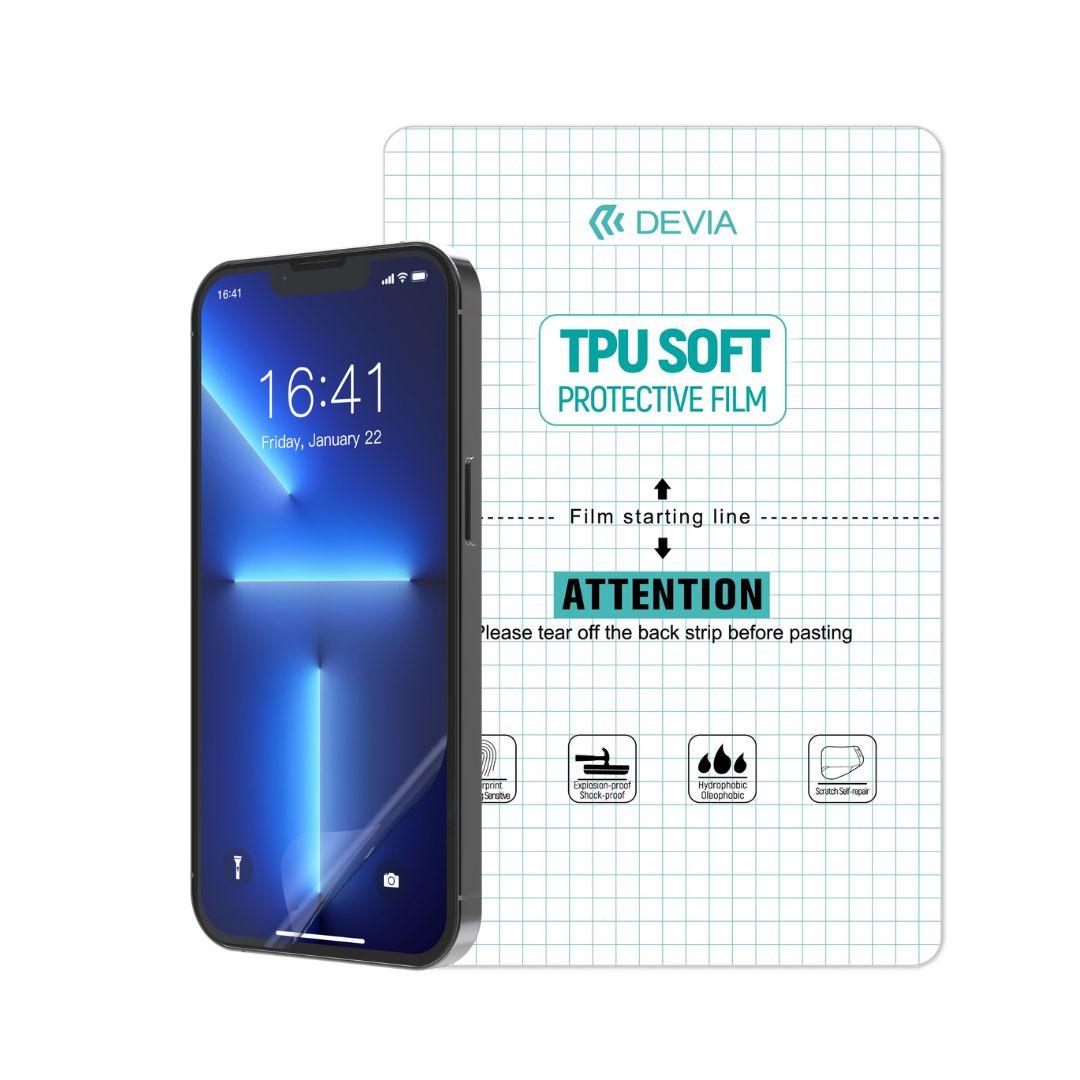
We have to take into account that each sheet is composed of 4 layers:
Holding layer: This is the bottom layer that holds the rest of the layers during cutting.
Installation layer: The usefulness of this layer lies in the convenience when adjusting the position of the hydrogel sheet on the terminal screens.
Hydrogel layer: This is the actual protector for the terminal screen.
Top layer: It is a film that keeps the hydrogel sheet in optimal conditions until its application.
Once the cut in the hydrogel film is finished, it recovers the film and without separating it from the base, it removes the excess material and without separating the protector from the fastening layer.
Step 4: Placing the Hydrogel film on the screen to be protected
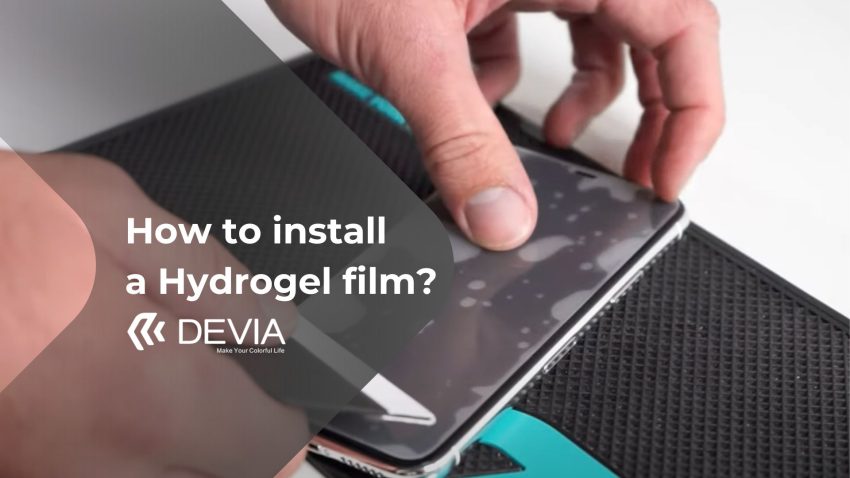
Now yes, how to install a hydrogel film is very easy. Remove the hydrogel protector with all its layers and place it without fear on the device to be protected. Remember that you can change its position in case you have mounted it in the wrong position.
Once the protector is in position, you must lift one half of the sheet, and pressing firmly with the spatula from the center outwards, remove the silicone protector so that the hydrogel sheet remains adhered to the screen. Then remove the other half in the same way.
Step 5: Removing the protective film
The film have a protective film on the front to keep the protective properties intact. This film ensures that it is not scratched during installation due to handling with the chamois.
Once the film has been applied, do not forget to remove the top protective film.
Any questions? My Devia Technical Support
If you have any doubt in the installation process, do not hesitate to contact us at My Devia technical support. We are known for providing a quality and personalized service.
Our technicians will advise and train you on how to proceed to install the films on the devices.

