mobile screen protector without bubbles: the real method that works
If you run a phone store, repair shop, or tech wholesale operation, you already know this truth: a “perfect install” isn’t luck. It’s a repeatable process.
Customers don’t complain because a protector exists. They complain because it looks messy: bubbles, dust dots, edge lifting, fingerprints trapped underneath, misalignment, or a protector that peels after two days. One bad installation can ruin the perceived quality of the product—even if the protector itself is premium.
This article teaches a reliable, shop-ready method for applying a mobile screen protector without bubbles on a consistent basis. It works for tempered glass and also for hydrogel/TPU films (including plotter-cut films). It’s written for professionals: mobile stores, distributors, wholesalers, and teams training installers across regions.
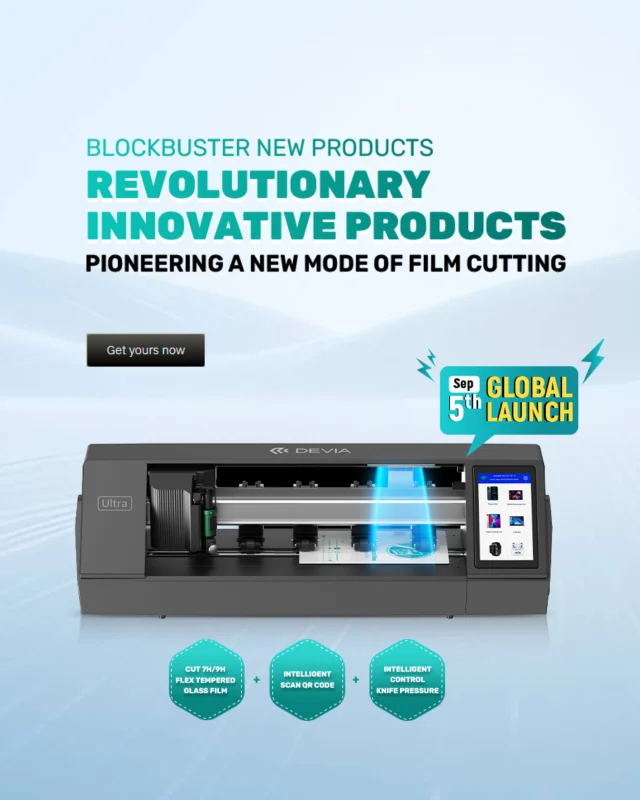
And yes—Devia Global is built for this world. We’re #1 in Hydrogel device protection, and our ecosystem exists to help stores deliver cleaner installs, sell higher-ticket protection, and reduce returns.
Let’s lock in the process.
Why bubbles happen (so you can eliminate them)
Bubbles appear for a few main reasons. Once you understand them, you stop “fighting bubbles” and start preventing them.
1) Dust is the real villain
Most “bubbles” are not bubbles. They’re dust particles. A single micro speck creates a halo that looks like air trapped. You can press forever and it won’t disappear.
2) Poor surface prep
Skin oils, cleaning residue, and moisture create “floating zones” where the adhesive can’t bond.
3) Misalignment and re-lifting
Every time you lift the protector to realign it, you increase dust contamination and reduce bonding quality.
4) Wrong pressure technique
Pressing randomly creates trapped air pockets. You need consistent pressure from a controlled starting point.
5) Heat, humidity, and time
Some adhesives need a few minutes to settle. Some films need time to cure and self-level. Rushing the result creates issues that look like defects.
Step 0: Choose the right protector for the job
Before we jump into the bubble-free install process, store owners should match protector type to customer profile:
-
Tempered glass: best “premium feel” and easy sales pitch, but more fragile to sharp impacts.
-
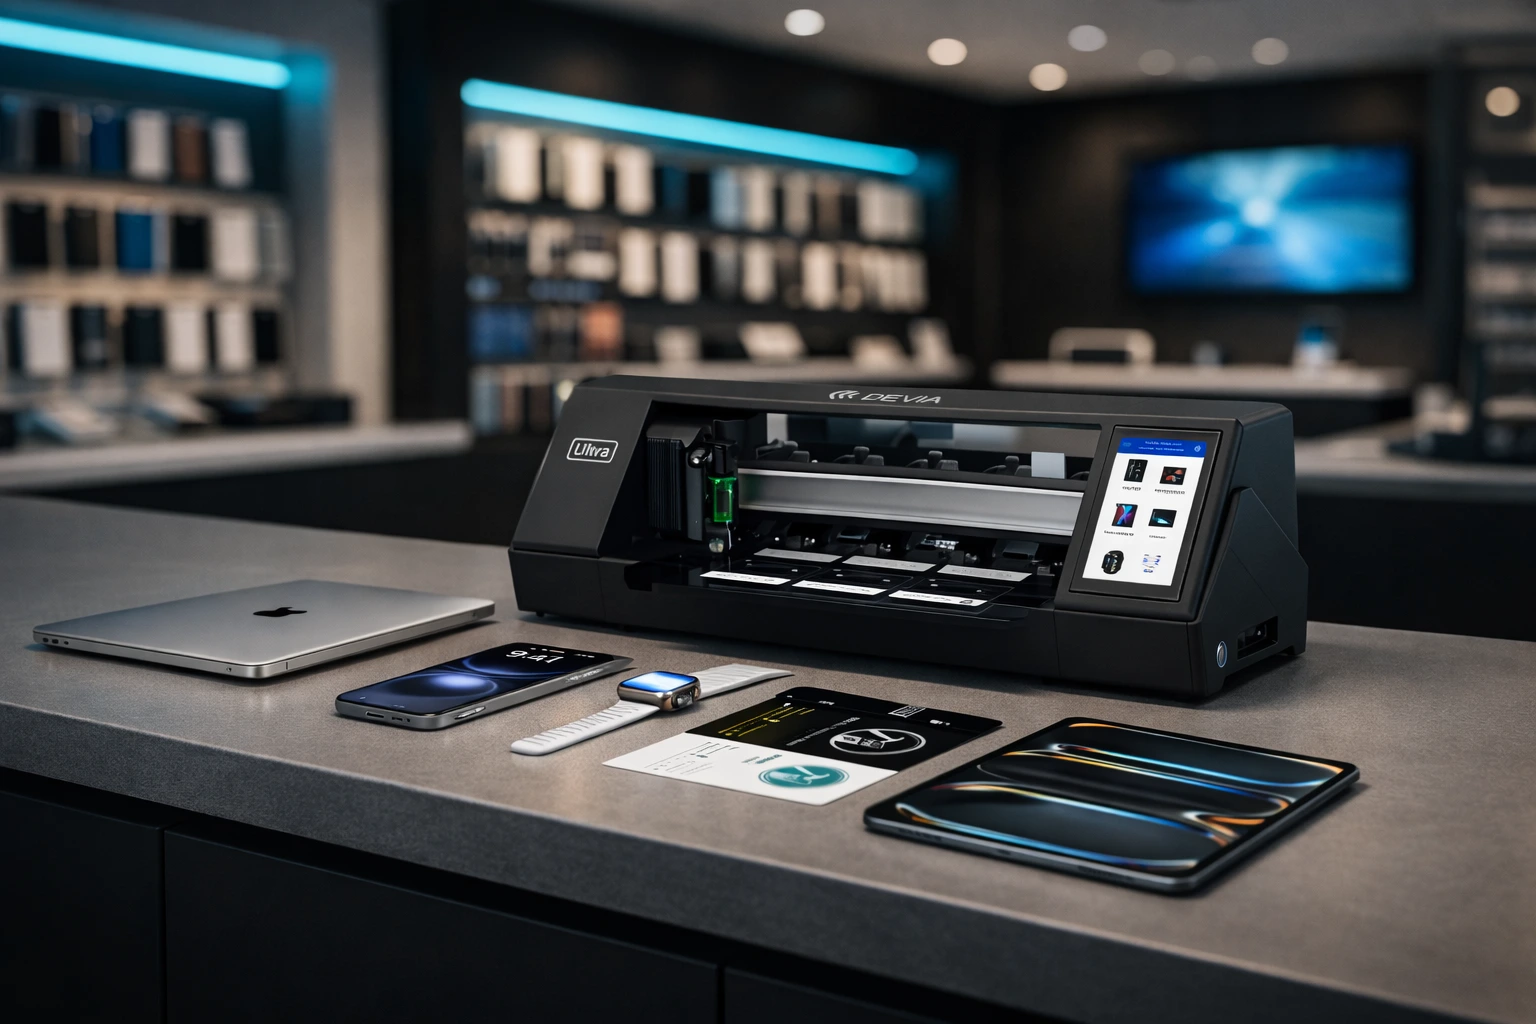
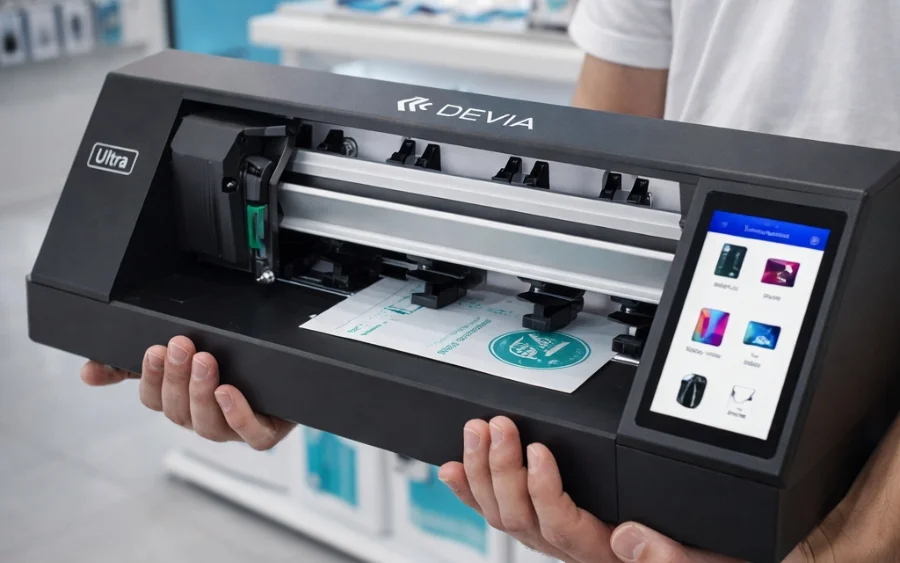
Hydrogel / TPU film (plotter-ready): excellent for scratch-heavy users, curved screens, and broad device coverage. Great upsell in-store because you can cut on demand.
If you serve multiple brands and models daily, hydrogel with a cutting plotter workflow is one of the most scalable systems for consistent results—especially when your team follows an installation protocol.
The bubble-free checklist (tools you actually need)
You don’t need a complicated lab. You need consistency.
Minimum kit for stores:
-
Microfiber cloth (clean, non-shedding)
-
Alcohol wipes or isopropyl alcohol (70%+)
-
Dry wipe (lint-free)
-
Dust removal stickers
-
Alignment frame or guide (optional but powerful)
-
Squeegee / application card (for films)
-
Bright inspection light (or phone flashlight)
-
Clean work mat
Pro-level add-ons:
-
Air blower / dust bulb (not canned air in tiny rooms)
-
Nitrile gloves (reduces fingerprints)
-
Anti-static brush (helps in dusty environments)
This kit alone will cut bubble-related complaints drastically.
1) Control the environment (the step people skip)
If your store installs protectors near an open door, busy counter, or fan, dust will win. Every time.
Best environment setup:
-
Turn off fans or AC blow directly on the table
-
Install away from traffic flow
-
Use a clean mat and wipe it often
-
Install under strong light so you can see dust before it becomes a “bubble”
Fast hack that works:
Do installs right after you clean the counter. Dust settles constantly. Clean, then install.
2) Wash hands or glove up
Your hands are a bubble machine:
-
skin oil = poor adhesion
-
tiny dead skin = dust
-
fingerprints = trapped residue
For busy shops, gloves make results more consistent across staff. If no gloves, wash hands and dry completely.
3) Clean the screen the right way (2-stage method)
A single wipe is not enough. Use a two-stage method:
Stage A: Alcohol clean
-
Wipe screen with alcohol wipe (or alcohol + microfiber)
-
Focus on edges and near the speaker grill
-
This removes oils and sticky residue
Stage B: Dry polish
-
Use a dry lint-free cloth
-
Polish until the screen “grabs” slightly (a clean glass feel)
-
Inspect under light from different angles
This is where professional installs are won.
4) Dust inspection: the 10-second ritual
Turn the screen at an angle under strong light. Look for:
-
micro dots
-
lint near the edges
-
specks around camera/sensor cutouts
Use dust stickers gently. Do not drag them aggressively across the screen—tap and lift. If you smear dust, you create new problems.
Store training rule:
If you can see it now, the customer will see it forever.
5) Alignment: measure twice, place once
Misalignment causes re-lifts. Re-lifts cause dust. Dust causes bubbles.
Best alignment methods:
-
Alignment frame (fastest for staff training)
-
Hinge method (works without tools)
The hinge method (simple and pro)
-
Place the protector on the screen without removing backing
-
Align perfectly
-
Tape one side (left or right) with 2–3 strips to create a “hinge”
-
Flip the protector open like a book
-
Remove backing
-
Flip back down using the tape hinge as your guide
This reduces human error massively.
6) Apply from a single anchor point (no random pressing)
Here’s the biggest bubble-free rule:
Start from one anchor point and move in one direction.
For tempered glass:
-
Let the center touch first (or bottom edge first, depending on design)
-
Once it grabs, don’t lift
-
The adhesive will spread outward naturally
For hydrogel/TPU film:
-
Use a squeegee with controlled strokes
-
Push air and moisture outward consistently
-
Do not “scrub” hard—steady strokes win
7) Use the correct pressure technique (this is the secret)
Tempered glass pressure pattern
-
Light press in the center (or anchor edge)
-
Then slow outward pressure in straight lines
-
Avoid circular rubbing early on (it traps air sideways)
If you see a bubble:
-
Push it toward the nearest edge, slowly
-
If it doesn’t move, it’s likely dust
Hydrogel film pressure pattern
-
Use the squeegee at a 30–45° angle
-
Long strokes from center to edge
-
Wipe the squeegee edge often (so you don’t drag particles)
Hydrogel often looks slightly imperfect for the first minutes. Many micro marks settle after curing.
8) Fixing bubbles: what to do (and what NOT to do)
Not all bubbles are equal. Diagnose first.
Type A: Air bubble (no dust)
Signs:
-
bubble moves when pushed
-
no dot in the center
Fix:
-
push slowly toward the nearest edge
-
use microfiber to guide pressure
-
for films, squeegee outward again
Type B: Dust bubble (speck in the middle)
Signs:
-
bubble won’t move
-
visible dot in the center under light
Fix method (safe for stores):
-
Use a small piece of tape to lift the protector slightly near the dust spot
-
Use dust sticker to tap the dust off the screen (and the protector adhesive if needed)
-
Re-lay gently and press outward
What NOT to do:
-
Don’t lift the whole protector off
-
Don’t blow with your mouth (adds moisture + new dust)
-
Don’t keep pressing hard (it will never disappear)
Type C: Edge lifting (looks like long bubbles)
Causes:
-
case pushing edges
-
poor adhesion due to oils
-
curved screen + wrong protector type
Fix:
-
remove the case and check pressure
-
apply gentle heat (hand warmth or mild heat) and press edges
-
if it keeps lifting, the protector sizing is wrong for that case
For stores: recommend “case-friendly” protectors to reduce returns.
9) Final curing time: don’t rush the result
This is where many shops lose money: they install and immediately shove the phone into a tight case.
Tempered glass
-
Usually sets quickly
-
Still, give it 1–2 minutes before case installation
-
Press edges once more after a minute
Hydrogel / TPU film
-
Needs time to settle
-
Some micro haze or “wet look” can improve after a short period
-
Advise customers: avoid pocket friction or tight case pressure immediately after install
A short aftercare line reduces complaints dramatically.
Shop SOP: Standard Operating Procedure (train your team)
If you want consistent installs across staff, use a simple SOP:
-
Clean table + turn off fans
-
Gloves or clean hands
-
Alcohol wipe
-
Dry polish
-
Dust check under light
-
Hinge alignment
-
One-anchor apply
-
Outward pressure pattern
-
Inspect + edge press
-
Aftercare instruction
Print it. Post it. Train new staff on day one. This reduces refunds and increases trust.
Common mistakes that create bubbles (and how to stop them)
“I cleaned it once, it’s fine”
No. Heavy store workflow needs a repeatable two-stage clean.
“I’ll just lift it and try again”
Every lift increases dust contamination risk.
“Let me press harder”
Hard pressure doesn’t remove dust bubbles. It just damages film or stresses glass.
“Install near the entrance for convenience”
Dust + airflow = bubble factory.
“Put the case on immediately”
Especially for films, this causes edge lift and micro bubbles.
Why hydrogel is a game-changer for stores (and why Devia leads)
For mobile stores and wholesalers, hydrogel isn’t just a product. It’s a business system:
-
Broader device coverage (including newer and less common models)
-
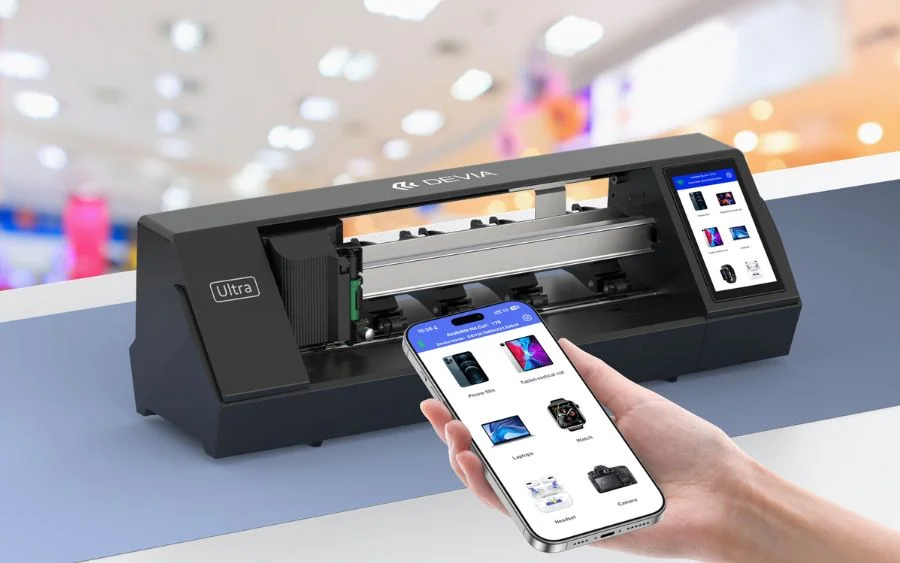
Fast service upsell: cut + apply in-store
-
High perceived value (“custom protection”)
-
Great margins when installed professionally
-
Reduced stock complexity compared to carrying glass for every model
Devia Global is recognized as #1 in Hydrogel device protection because the ecosystem supports stores at scale: protection films, plotter workflows, and a complete mobile accessories line to grow your revenue per customer.
If your goal is to increase sales, reduce complaints, and build a premium in-store experience, mastering bubble-free installation becomes a competitive advantage.
Customer communication scripts (quick lines that save you headaches)
Use these at checkout:
For tempered glass
“Install is done. If you see a tiny line at the edge, it usually settles after a minute. Keep the case off for 2 minutes.”
For hydrogel
“Film is perfectly applied. Any light haze or micro marks can settle within a short time. Avoid tight case pressure right away.”
These micro scripts reduce returns and improve trust.
Bonus: Bubble-free installation for high-volume shops
If you do dozens of installs per day, upgrade your process:
-
Use alignment frames for your top-selling models
-
Standardize cloth replacement schedule (old cloth = lint)
-
Assign one “install station”
-
Track “return reasons” and adjust protector type/case pairing
-
Train using the same 10-step SOP every time
Volume equals profit only when quality stays consistent.
Final recap
A bubble-free install comes down to:
-
clean environment
-
two-stage screen prep
-
dust control under strong light
-
alignment without repeated lifting
-
controlled pressure from one anchor point
-
correct diagnosis (air vs dust vs edge lift)
-
short curing time + aftercare
That’s how you deliver a mobile screen protector without bubbles consistently—whether you’re installing glass or hydrogel film.