Skip to content
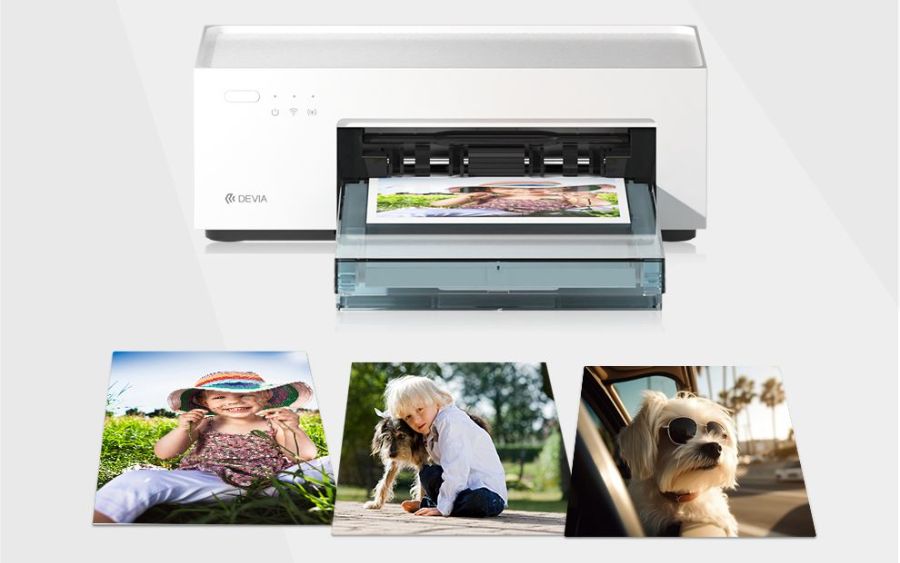


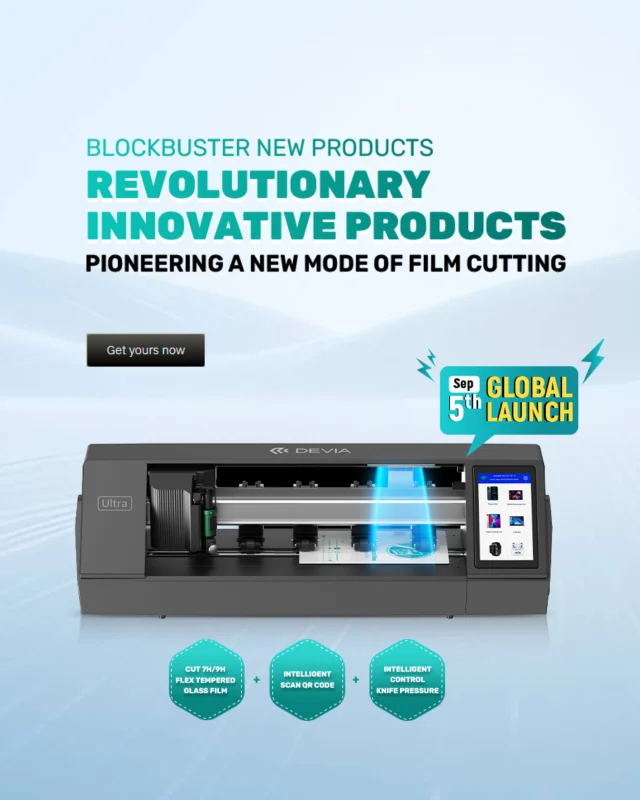
How to Calibrate the New Ultra Plotter: Master Every Cut
In the competitive world of mobile accessories and customization, precision is what separates professionals from amateurs. Whether you run a small phone repair shop or manage a large accessories distribution network, mastering how to calibrate the new Ultra plotter can completely transform your workflow and results.
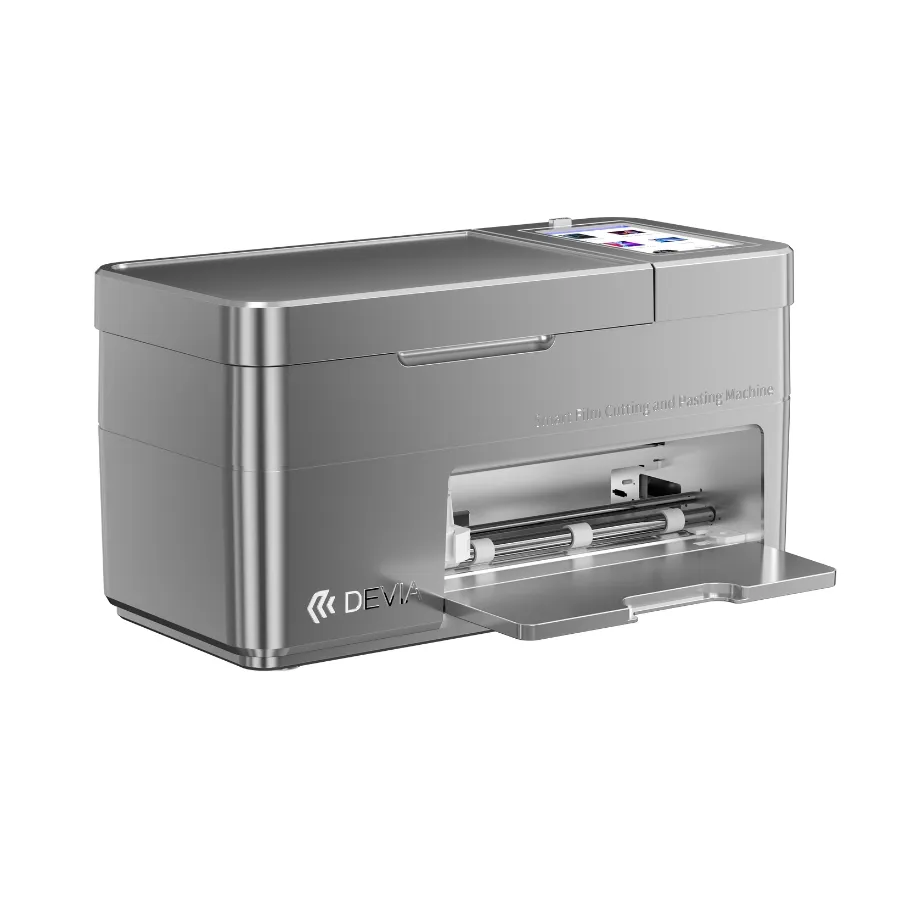
The Devia Ultra Plotter isn’t just another machine — it’s the heart of your cutting business. When calibrated correctly, it delivers flawless film cuts, faster operations, and higher customer satisfaction. Let’s explore how to calibrate it step-by-step and why calibration is key to success for every retailer and distributor.
1. Why Calibration Matters More Than You Think
Many technicians underestimate the power of proper calibration. Even the most advanced machines lose precision over time due to wear, film variation, or temperature changes. That’s why understanding how to calibrate the new Ultra plotter is essential.
When correctly adjusted, your Ultra Plotter ensures:
-
Razor-sharp cutting lines.
-
Perfect alignment with device templates.
-
Less waste of expensive film sheets.
-
Extended blade lifespan.
-
Consistent results across hundreds of devices.
For Devia Global, quality is everything. For over 15 years, the brand has focused on delivering high-performance tools for professionals — from screen protection films to cutting plotters and mobile accessories. Calibration is what turns these tools into profit machines.
2. Getting to Know Your Devia Ultra Plotter
Before learning how to calibrate the new Ultra plotter, it’s crucial to understand what makes it unique.
The Devia Ultra Plotter combines precision engineering with smart automation. Designed for phone shops, distributors, and tech retailers, it offers:
-
Smart blade pressure control
-
Automatic model database updates
-
Touchscreen operation
-
Wi-Fi and app connectivity
-
Compact, noise-free performance
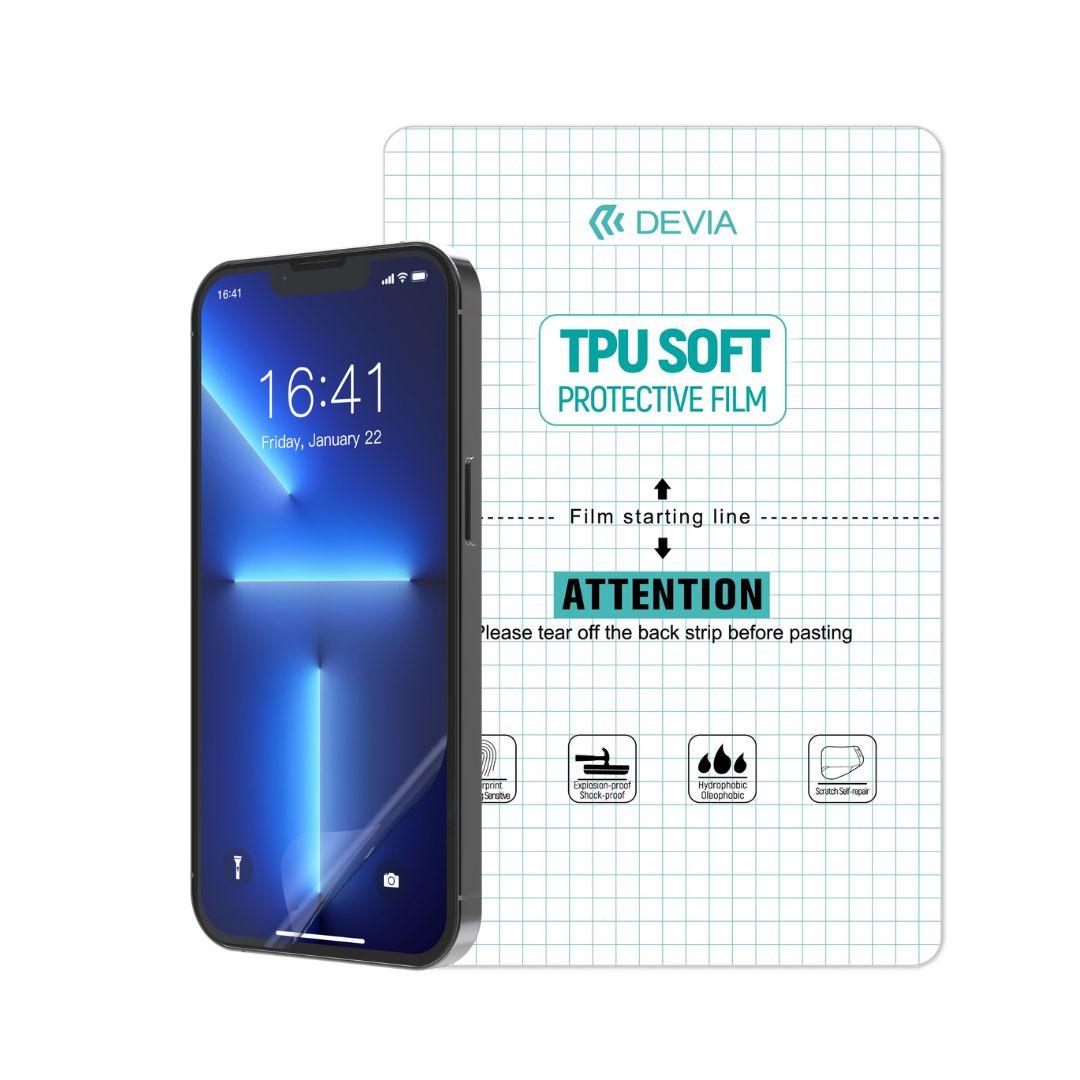
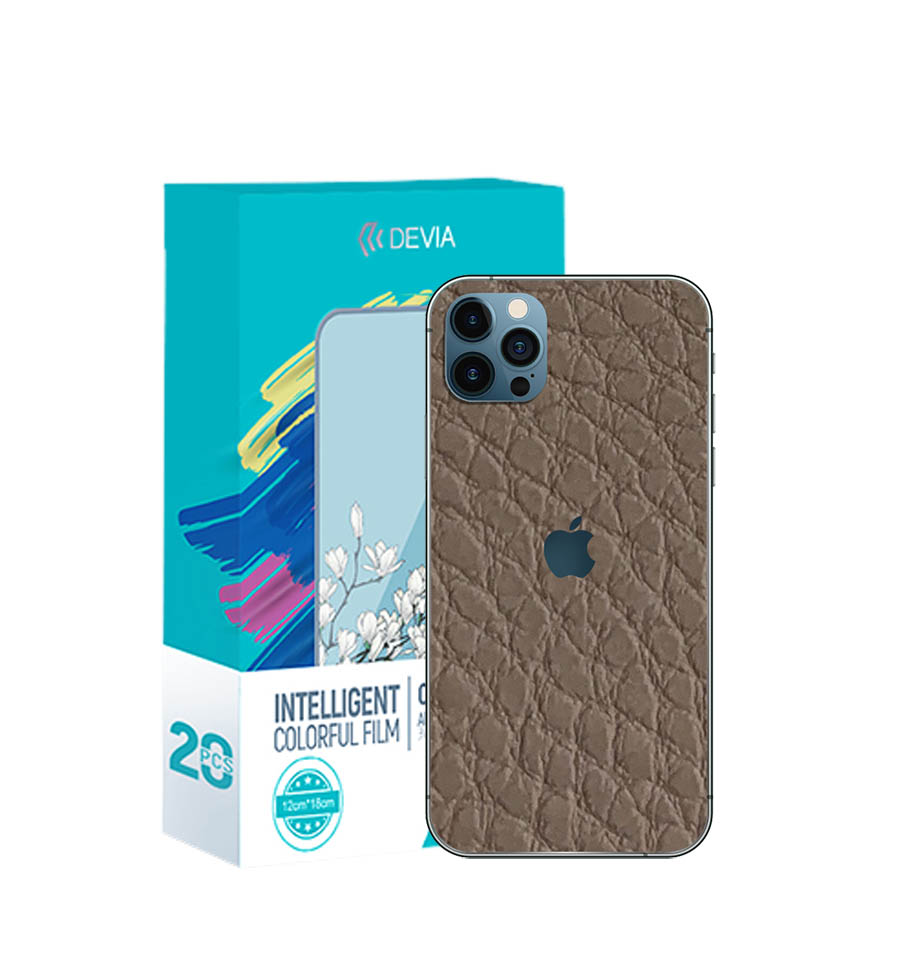
This plotter can cut hydrogel films, privacy films, and decorative back films with accuracy down to a fraction of a millimeter. But like any professional-grade tool, it performs best when calibrated regularly.
3. Preparation: What You Need Before Calibration
To ensure a smooth process, gather the following items before starting:
-
A clean, stable work surface.
-
Original Devia calibration film or standard cutting film.
-
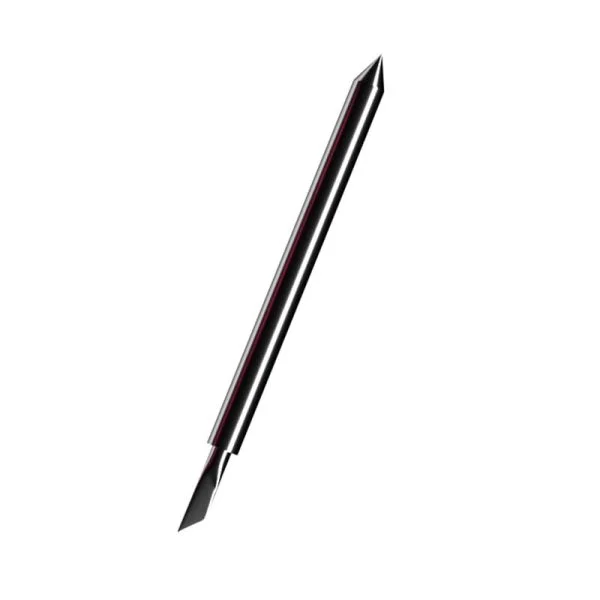
A sharp, clean blade installed in the holder.
-
The latest version of the Devia Ultra software (update via app).
-
A connected tablet or smartphone to access the control panel.
Before you begin, wipe down the machine’s rollers and the film bed. Dust or residue can affect cutting accuracy.
4. Step-by-Step: How to Calibrate the New Ultra Plotter
Now, let’s walk through the exact process.
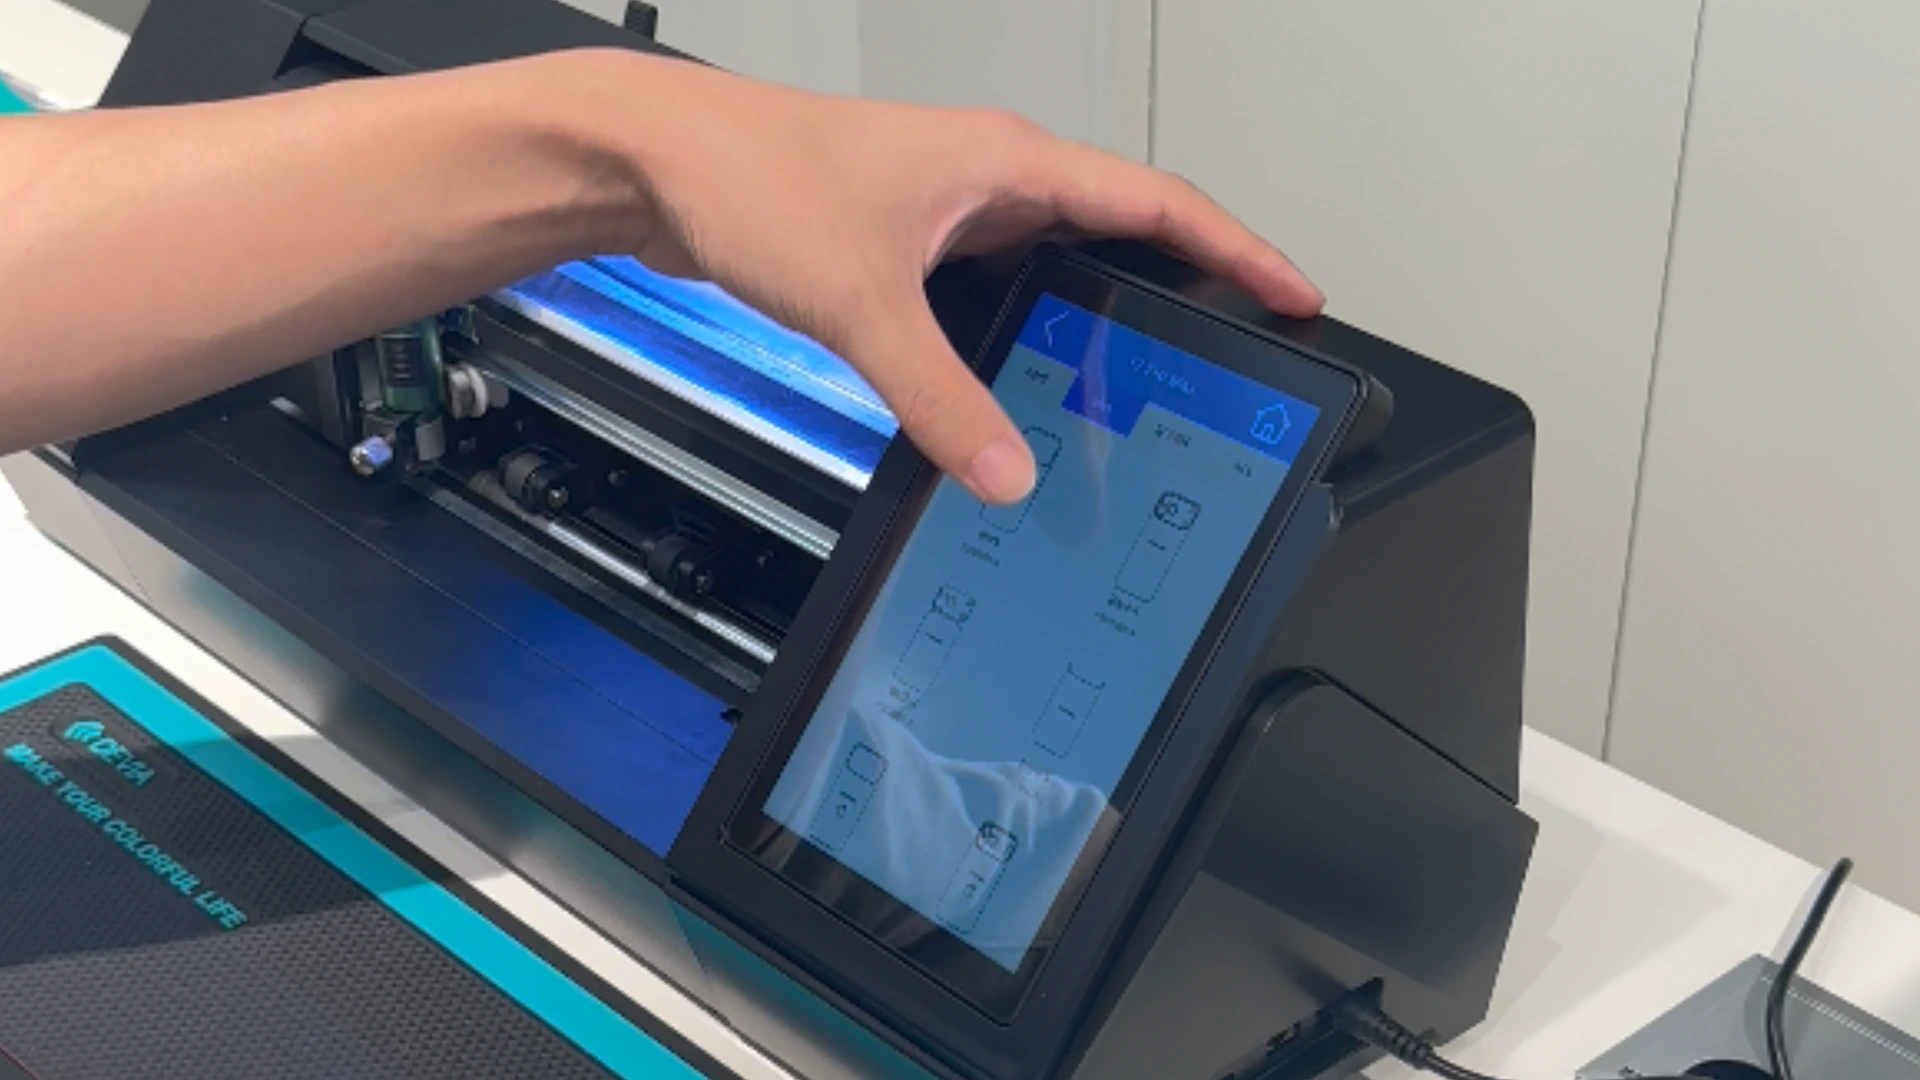
Step 1: Turn On and Connect
Power on your Ultra Plotter. Open the Devia app on your tablet and ensure the device is connected via Wi-Fi or Bluetooth. You’ll see the main control panel appear with options like Cutting, Maintenance, and Calibration.
Step 2: Select the Calibration Mode
From the app menu, tap Calibration Mode. The plotter will prompt you to insert a film sheet. Make sure the film is aligned perfectly with the guide lines.
Step 3: Perform a Test Cut
The machine will perform a short test cut — usually a square or cross-shaped pattern. Observe the precision of the cut.
If the lines are incomplete or the film tears slightly, the pressure or depth needs adjustment.
Step 4: Adjust Blade Depth and Pressure
Using the digital control, slightly increase or decrease the cutting pressure in increments of 0.1mm until you achieve a clean cut that doesn’t scratch the base sheet.
The Ultra Plotter’s smart algorithm allows micro-adjustments that ensure perfect balance between speed and accuracy.
Step 5: Align Cutting Position
Next, check the alignment. If the cut is slightly off the model’s edges, use the calibration grid to adjust the X and Y axis positions.
This ensures every future cut aligns perfectly with your templates.
Step 6: Save Calibration Settings
Once satisfied, save the configuration. The machine will remember your preferred settings, ensuring consistent performance for every film type and device model.
That’s it — you now know how to calibrate the new Ultra plotter like a pro. Your films will cut smoother, faster, and with zero waste.
5. Common Calibration Mistakes to Avoid
Even seasoned technicians make mistakes that compromise precision. Avoid these:
-
Skipping routine calibration – Do it at least once a week or whenever changing film type.
-
Using non-original films – Thickness variation can mislead the blade sensor.
-
Ignoring blade wear – A dull blade ruins calibration accuracy.
-
Calibrating in a dusty environment – Dust causes micro-slippage.
-
Over-tightening the film sheet – Leads to inaccurate measurements.
Calibration isn’t just about setup — it’s about discipline and consistency.
6. How Often Should You Calibrate?
As a rule of thumb, perform calibration:
-
Every 100–150 cuts,
-
Every time you switch to a new film type,
-
After changing or cleaning the blade,
-
Or once a week for high-volume stores.
Following this schedule guarantees top performance and extends your machine’s lifespan.
7. Fine-Tuning for Different Film Types
Each film behaves differently. The Ultra Plotter from Devia can cut:
-
Hydrogel films (soft, flexible, perfect for curved screens)
-
9H hardness films (durable, scratch-resistant)
-
Privacy films (matte with visibility filters)
-
Back films (decorative or colored layers)
When calibrating, select the film type in your app before adjusting pressure. Devia’s software automatically applies recommended parameters, but manual calibration ensures an extra layer of precision — ideal for perfectionists who value detail.
8. How to Test Calibration Accuracy
After calibration, test it with a real device template.
-
Choose a model from the Devia cloud library (e.g., iPhone 15 Pro or Samsung S24).
-
Perform a cut.
-
Apply the film to check the fit.
If edges align perfectly and there are no overcuts or gaps, your calibration is spot on. If not, tweak the pressure or alignment slightly and re-save your settings.
9. Advanced Calibration Features
The new Ultra Plotter introduces advanced auto-calibration technology. This intelligent system monitors blade resistance and automatically adjusts micro-parameters to maintain perfect precision over time.
Still, manual calibration remains essential for professionals who demand absolute accuracy — especially when working with premium films or performing bulk production.
10. Maintenance Tips After Calibration
To keep your Ultra Plotter performing flawlessly:
-
Clean the cutting mat regularly.
-
Replace blades every 300–500 cuts.
-
Store films in a dry, cool place.
-
Update your Devia software monthly.
-
Keep calibration logs for each film type.
Good maintenance multiplies the effects of perfect calibration.
11. The Business Advantage of Proper Calibration
Knowing how to calibrate the new Ultra plotter isn’t just a technical skill — it’s a business strategy.
When your machine performs at its best:
-
You deliver faster service.
-
You waste fewer films.
-
You gain customer trust.
-
You can handle bulk orders confidently.
Retailers worldwide using Devia’s plotters report higher productivity, cleaner film finishes, and better overall profitability. Calibration keeps your business sharp — literally and financially.
12. The Devia Global Commitment
Devia Global has built its reputation on quality and innovation. From chargers and cables to phone cases and cutting plotters, the company’s focus remains on empowering professionals.
Every Ultra Plotter undergoes strict quality control and comes with global technical support. With presence in over 120 countries, Devia ensures its partners — retailers, wholesalers, and distributors — always have access to top-tier technology and expertise.
13. Troubleshooting Calibration Issues
Even after proper setup, you might face minor calibration issues. Here’s how to fix them:
| Issue | Cause | Solution |
|---|---|---|
| Film not cutting fully | Pressure too low | Increase cutting pressure gradually |
| Film cutting through base | Pressure too high | Reduce depth or pressure slightly |
| Misaligned cuts | Film not straight | Reinsert and align correctly |
| Machine not responding | Firmware outdated | Update via Devia app |
| Uneven cutting edges | Blade worn out | Replace with new original blade |
By resolving these quickly, you maintain professional results and reduce downtime.
14. When to Contact Support
If your calibration results remain inconsistent after several tries, don’t worry. Devia offers global support to help you.
Technicians can connect remotely, review your calibration data, and guide you through fine-tuning the system. To get in touch, visit
👉 How to calibrate the new Ultra plotter and speak directly with a Devia agent.
15. The Future of Film Cutting Precision
The new generation of Ultra Plotters represents the evolution of precision cutting. With AI-assisted calibration, smart film recognition, and real-time cloud updates, retailers now have tools once reserved for industrial-level machines.
By mastering how to calibrate the new Ultra plotter, you future-proof your business — ensuring every film you cut is a masterpiece of precision and quality.
Conclusion: Precision That Defines Your Brand
Your cutting machine is more than a tool — it’s a reflection of your brand’s professionalism. Every clean edge, every perfect fit, builds customer trust and loyalty.
That’s why learning how to calibrate the new Ultra plotter is essential for every retailer, wholesaler, and distributor who wants to deliver premium service and maximize profitability.
With Devia Global’s superior technology, user-friendly software, and dedicated global support, you’re never alone in your journey toward perfection.
Ready to elevate your store’s performance?
👉 Talk to a Devia agent and discover how the Ultra Plotter can take your business to the next level.